Friday, September 14, 2012

Hanging Around the House

So there have been several things I have been asking Kyle to hang up around the house lately and since I had some girlfriends coming to visit last weekend I really begged him to get them up...and of course he did! He had his work cut out for him, I had things to hang in the guest bath, the living room and our bedroom!
 
Our guest bathroom is finally finished....for now! I eventually want to replace the counter tops, stain the cabinets and tile the floor, but for now it's at a finished point.

 
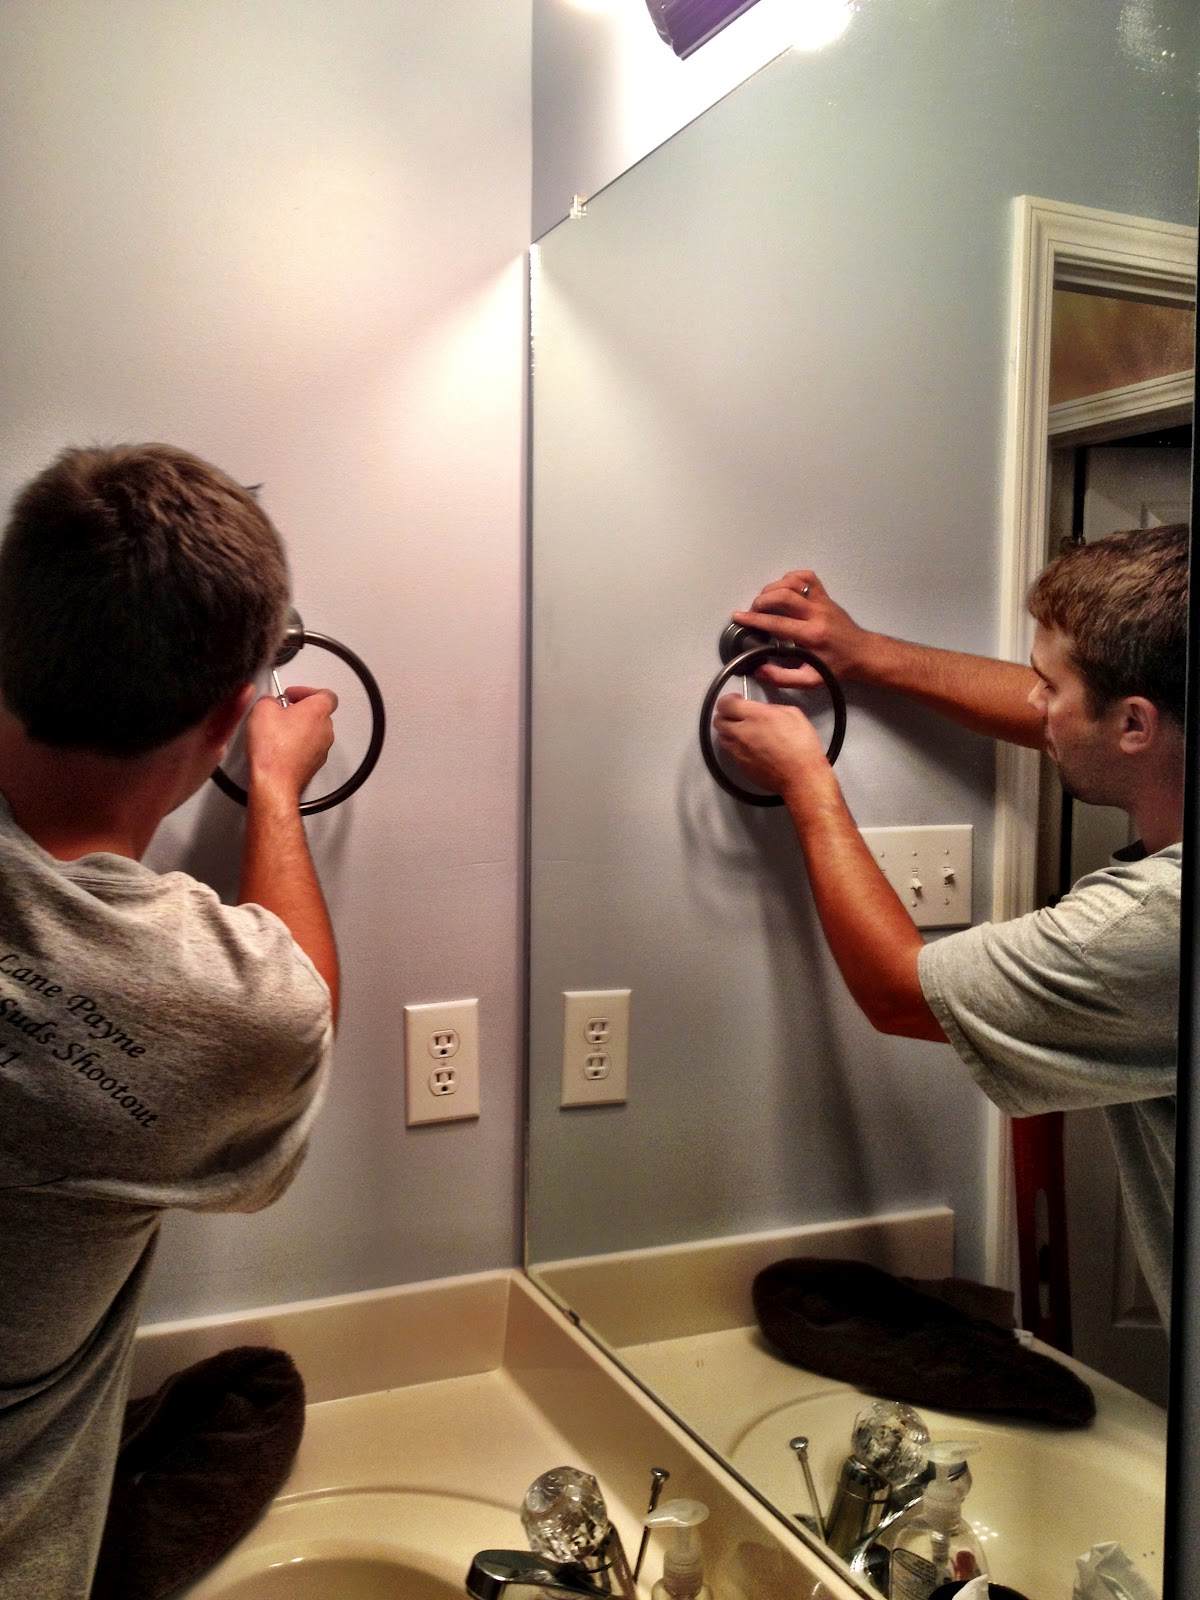
My honey hard at work!
 
 
I have had this crate to stain for months and I was home sick last week so I decided to finally get it done! I had been putting it off because I thought it would be a pain but it was actually really easy! I love the way it turned out and makes storing towels cute!
 
On to the living room.... I have had this fabric for months as well. I got it from my friend Ashlen and knew it would be perfect in our living room. And since I don't sew I had Kyle's mom make us curtains! I LOVE the way they turned out and they really made our living room feel more home like!
 
 
As you can tell Kyle didn't see the need to get a ladder.
 
 
(Please ignore my napping pillow...as I said...I was sick!)
 
 
Sorry this picture is so dark...and once again please ignore my pillow! ;) I really do love the way these turned out!
 
Now to our master bedroom! Three of my girlfriends gave me these wonderful mirrors as a wedding gift but they are a pain to hang. Kyle had been putting off hanging these up since the day we took them down in our rental house! But we used a new technique this time and it went much smoother and they look great!
 
 
This was definitely a pinterest pin success! These mirrors just have 2 holes on the back that you have to measure and make sure you get the anchors and screws in the exact right place, all while making sure the 3 mirrors are perfectly in line and evenly spaced. So I when I found this pin I was so excited. So simple, just use tape to measure the distance between the holes and put the tape up on the wall, the all you have to worry about is the spacing. It made it so much more simple! I love where we decided to hang these!
 
 
I have been wanting bird prints for a while so I convinced Mrs. Wendy to make us some! She had just gotten a new bird book that had beautiful pictures to choose from. I originally wanted to put them in our dining room but after Mrs. Wendy finished I decided to hang them in our bedroom above the bed!
 
 
Kyle and Maci worked hard to get these hung perfectly! He used the tape method again because the wires on the backs of the frames were all different lengths.
 
I absolutely LOVE the way these turned out! They look AMAZING!
 
 
Our house is coming together little by little! We love living here and making this our home!


Friday, August 31, 2012

Bachelorette Beach Bash

I cannot believe we just had my best friends bachelorette party! Stevie and Tommy have been together since we were 16 and are FINALLY getting married in October! We had a wonderful weekend in Destin, Florida, laying on the beach and soaking up the sun! We left late Wednesday night but before then I had some prep work to complete...
 
The plan was to have a pajama party Thursday night. Like real deal pajama party, facials, mani/pedis, pj gifts for the bride! I put together pajama party gift boxes for all the girls...


Inside the box was nail polish, lip gloss, toe separaters, a facial mask pack and adorable (if I do say so myself) monogrammed headbands!
 
 
These are all the headbands. I think they are just too adorable!
 
I even got Kyle to help fluff the bows on the boxes...I think he did a pretty good job!


After Stevie opened all her pajama gifts we were all too tired for facials and mani/pedis so I am saving mine for another day!
 
The beach was beautiful the whole weekend! The water was as clear as I have ever seen it! We timed the trip just in time because there was a tropical storm moving in the week after we left! There was a wonderful breeze and cool waters!
 
 
We had a blast going to dinner and out Friday and Saturday nights. Here are a few pictures from the trip...


This was an amazing kick-off weekend to all the wedding festivities!

Thursday, August 16, 2012

Birthday Boy!

Kyle turned the big 2-7! Ok so not such a big birthday but a birthday to be celebrated none the less! He had an outdoor show to work at in Atlanta so we decided to spend the whole weekend there and go to a Braves game. My girlfriends and their boyfriends/fiances/husbands all joined and Kyle's brother Cam and his girlfriend Lenzee came as well! We had such a great time with everyone! My friends were so sweet to help us celebrate Kyle's birthday!


The whole gang while we were tailgating! We had such a blast!


The BIRTHDAY BOY!


All my girls! It was so wonderful to be able to all get together! It had been almost a year since we were all together at one time! (We vowed to not ever let this happen again!)


Kyle got a card in the mail from his Aunt Sherry and it had a balloon on the inside, we blew it up and needless to say Maci LOVED the balloon...until it popped!


I hope Kyle had a wonderful birthday! I can't believe he is getting so old :) hehe!


Wednesday, August 15, 2012

Cake Balls

I know, I know! It has been a long time since my last blog, but we have had a BUSY month!

We had a Fall Preview event at Sugarplum Tree at the end of July and I wanted to make yummy refreshments. I didn't want to just do the usual cookies and brownies but I wanted to keep it simple for peopl to eat while they were shopping. I have been wanting to try my hand at making cake balls so I figured this would be a great time!

I read several recipes and just kind of took what they all said and went to cake ball town! The concept is actually really simple. Make a box cake just like the box says, let the cake cool then crumble the cake into tiny tiny crumbs, mix coordinating icing into the cake crumbles, let sit in fridge to harden then roll up the balls. After you have a ball, you put them back in the fridge to harden again, then you can dip them in the melted chocolate. It would have been just this simple if I had a few extra hands. But is wasn't so bad that I wouldn't attempt them again...maybe just inlist more help next time.

So this is what I started with. I wanted to have a selection so I went with yellow cake, strawberry cake and chocolate cake. And the coordinating icings.


I was so happy to use my mixer! I haven't used it since we moved and for some reason I just love pulling it out!


Once the cake was finished baking I let it cool then used a fork to start crumbling.


Next was to mix in the icing. This was about how much I had left in the container after I mixed with the cake crumbles.


My balls varied in size but I tried to be consistent. While I was rolling I noticed the cake/icing mixture sticking to my hands so I popped it into the freezer to chill for a few minutes. This was the longest step in the process and I noticed the closer I got to the end of the mixture the bigger the cake balls got because I just wanted to be finished!


Once I had the balls formed I put them in the fridge to chill over night. Almost every recipe I read said to do this because it made it easier when dipping them into the melted chocolate.

I just used chocolate and white chocolate chips and melted a cup or 2 at a time so it didn't harden up while I was trying to dip. I read that if the chocolate seemed too thick to add a little oil and it would make it creamier, they definitely helped!


I thought a toothpick would be simple, just stab the ball then dip but of course it didn't want to stay on the toothpick. So, I found this technique to be the easiest when trying to coat the balls in chocolate. Just drop the ball in the bowl of chocolate, spoon it around to coat it, then pick it up with the spoon and beat the spoon on the side of the bowl so the excess chocolate falls off. Then, just slip it off the spoon onto your wax paper covered cookie sheet!

After all the cake balls were coated  I let them sit in the fridge for about an hour to harden up before I drizzled chocolate on top. Kyle really liked this part and decided he wanted to help.


This is the finished product...


Not beautiful but they were delicious! Strawberry was my favorite! They were all a big hit at the Fall Preview but, we had TONS left over! I will definitely make them again when we have a big event going on and I can get more help. They were time consuming but worth it in the end!


Tuesday, July 10, 2012

Outdoor Weekend

It was a weekend full of outdoor activities! We went to the pool, Kyle had guys over for wiffleball, but the most strenuous, yet rewarding, of them all was pulling ALL the juniper out of the yard beside the house!!!

We have been wanting to do this since we moved in and we had already tackled 2 smaller areas of juniper but we decided this was the weekend it would all come out! It was definitely a sight, I wish I had gotten a few action shots. We had a chain hooked on one end to Chris's truck then to the juniper on the other end. Some pieces came up pretty easy, others were a completely different story and had Chris's truck sliding across the driveway!

Here are some befores and afters...


We planted a few Lantana we got from the farm but the bed still needs more, we're just not sure what we want in it yet. We are so happy with the results and love working around the house and making it what we love!


We were pretty proud of our pile up by the street. This picture doesn't do it justice!


Of course Maci wanted in on the action so she put on some garden gloves and got busy picking up sticks! haha She was wondering why we were throwing all her sticks in the wheelbarrow.

This is a quick snapshot of the guys finishing up their game. It was a wonderful weekend spent outside...even in this July Georgia heat!


Friday, June 29, 2012

Baked Sweet n Sour Chicken

This is one of our new favs! All the ingedients are items that we almost always have in the kitchen and it is so fun to make. It can be a little time consuming but Kyle does most of the cooking for this meal and he loves acting like a Chinese/Japanese chef! The link to the whole recipe is here but, we do ours a little differently.


These are all the ingredients used (except the rice). It seems like a lot but most are things usually kept all the time.

Cut the chicken into bite size pieces, put 1 cup corn starch in a bowl and and crack the eggs in a separate bowl.


We set up an assembly line to coat the chicken in the corn starch, then egg then on to the frying pan. You only have to fry them for a few minutes on each side, just until the outside is crispy.

While Kyle is frying the chicken I mix up the sauce! Mix together ketchup, soy sauce, garlic salt, sugar and vinegar with a wisk and set aside until the chicken is finished frying!


Once all the chicken is finished put it a greased baking dish and pour the yummy sauce over the chicken. Then bake in the oven for about and hour, give it a good stir every 20 minutes or so.


While the chicken is in the oven we cook the rice. We use normal white rice and cook it just like the box says then Kyle uses our flat skillet and "creates" his fried rice. Kyle is a very basic eater so we don't add the onions or peas and carrots. We just add eggs and broccoli.


Kyle LOVES cooking the rice! He will be in the kitchen putting on a show twirling the utensils all around, rice flying everywhere! But, it is always wonderful!


Looks like we got take-out!

It is kind of time consuming and may be a lot of steps but it is definitely worth it! We love fixing this meal and it makes a lot so its nice for when guests come over and great for left overs!


Baked Sweet and Sour Chicken
The chicken coating:
3-4 boneless chicken breasts
salt + pepper
1 cup cornstarch
2 eggs, beaten
1/4 cup canola oil
The sweet and sour sauce:
3/4 cup sugar
4 tbs ketchup
1/2 cup distilled white vinegar
1 tbs soy sauce
1 tsp garlic salt